2018年4月17日時点でのまっさらな環境でコンパイルして使えるようにする手順
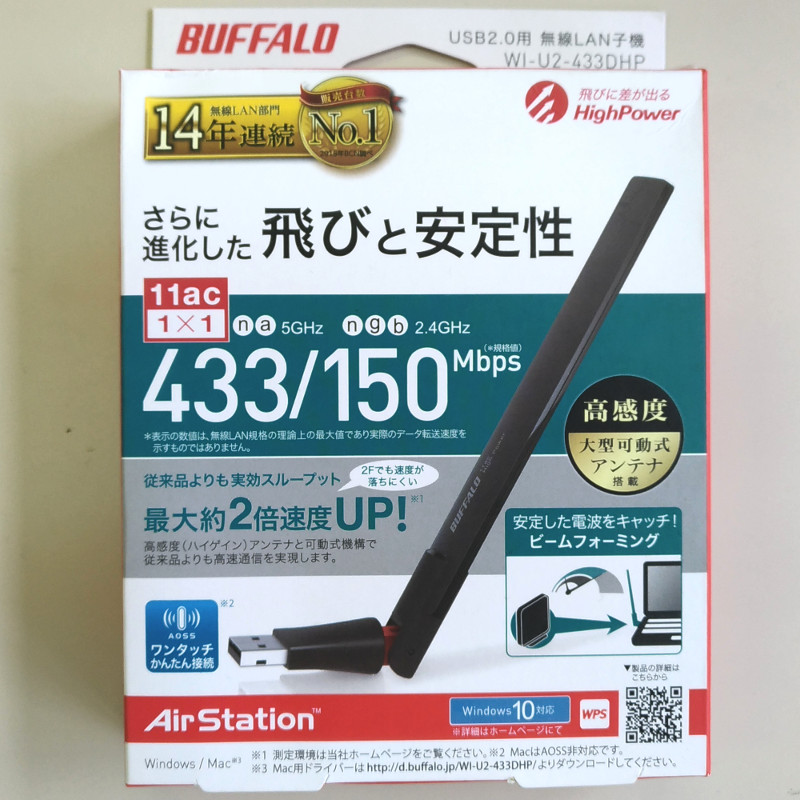
Raspberry Pi 3 は標準でWiFiを持っているが、もうちょっと性能のいいのが欲しかったので「さらに進化した飛びと安定性。大型アンテナ搭載11ac対応無線LAN子機」というのが売りの WI-U2-433DHP を買ってみた。Raspberry Pi 3 につけてみようとしたが、Raspbian GNU/Linux 9 (stretch)が対応していなかったので、モジュールを作りカーネルにロードして使えるようにした。
ネット上であちこち探したがバージョンが古かったり、既にインストールしている環境に依存している状態でのインストール説明が多く、まっさらの状態でインストールする手順がみつからなかった。2018年4月17日時点でのまっさらな環境でコンパイルして使えるようにする手順を以下に書き留めておく。
システムをアップデート
モジュールをコンパイルする前にシステムをアップデートしておく。
# apt-get update

# apt-get upgrade
アップデート後にリブートしておく。
モジュールをコンパイルするための事前準備
カーネルをコンパイルしたgccをゲットする。まず/proc/versionをチェックしてみる
$ cat /proc/version

Linux version 4.14.30-v7+ (dc4@dc4-XPS13-9333) (gcc version 4.9.3 (crosstool-NG crosstool-ng-1.22.0-88-g8460611)) #1102 SMP Mon Mar 26 16:45:49 BST 2018
カーネルはgcc 4.9.3 でコンパイルされている。gccのバージョンをチェック。
$ gcc --version

gcc --version

gcc (Raspbian 6.3.0-18+rpi1+deb9u1) 6.3.0 20170516

Copyright (C) 2016 Free Software Foundation, Inc.

This is free software; see the source for copying conditions. There is NO

warranty; not even for MERCHANTABILITY or FITNESS FOR A PARTICULAR PURPOSE.
バージョンがあっていない。gcc4.9をインストールする。
$ apt-get update

$ sudo apt-get install gcc-4.9 g++-4.9

[sudo] password for hironobu:

Reading package lists... Done

Building dependency tree

Reading state information... Done

The following additional packages will be installed:

cpp-4.9 libasan1 libgcc-4.9-dev libstdc++-4.9-dev

Suggested packages:

gcc-4.9-locales gcc-4.9-doc libstdc++6-4.9-dbg libgcc1-dbg libgomp1-dbg libitm1-dbg libatomic1-dbg libasan1-dbg liblsan0-dbg libtsan0-dbg

libubsan0-dbg libcilkrts5-dbg libquadmath0-dbg libstdc++-4.9-doc

The following NEW packages will be installed:

cpp-4.9 g++-4.9 gcc-4.9 libasan1 libgcc-4.9-dev libstdc++-4.9-dev

0 upgraded, 6 newly installed, 0 to remove and 1 not upgraded.

Need to get 21.7 MB of archives.

After this operation, 64.3 MB of additional disk space will be used.

Do you want to continue? [Y/n] y
…
インストール後はこんな風になっている。
$ ls -l /usr/bin/gcc*

lrwxrwxrwx 1 root root 5 4月 9 2017 /usr/bin/gcc -> gcc-6

-rwxr-xr-x 1 root root 666956 4月 20 2016 /usr/bin/gcc-4.9

lrwxrwxrwx 1 root root 25 3月 1 09:03 /usr/bin/gcc-6 -> arm-linux-gnueabihf-gcc-6

lrwxrwxrwx 1 root root 8 4月 9 2017 /usr/bin/gcc-ar -> gcc-ar-6

-rwxr-xr-x 1 root root 24424 4月 20 2016 /usr/bin/gcc-ar-4.9

lrwxrwxrwx 1 root root 28 3月 1 09:03 /usr/bin/gcc-ar-6 -> arm-linux-gnueabihf-gcc-ar-6

lrwxrwxrwx 1 root root 8 4月 9 2017 /usr/bin/gcc-nm -> gcc-nm-6

-rwxr-xr-x 1 root root 24376 4月 20 2016 /usr/bin/gcc-nm-4.9

lrwxrwxrwx 1 root root 28 3月 1 09:03 /usr/bin/gcc-nm-6 -> arm-linux-gnueabihf-gcc-nm-6

lrwxrwxrwx 1 root root 12 4月 9 2017 /usr/bin/gcc-ranlib -> gcc-ranlib-6

-rwxr-xr-x 1 root root 24380 4月 20 2016 /usr/bin/gcc-ranlib-4.9

lrwxrwxrwx 1 root root 32 3月 1 09:03 /usr/bin/gcc-ranlib-6 -> arm-linux-gnueabihf-gcc-ranlib-6
モジュールコンパイルのためにカーネルヘッダーをインストールする。デフォルトでは/usr/src の下には何も入っていない。
$ sudo apt-get install raspberrypi-kernel-headers

Reading package lists... Done

Building dependency tree

Reading state information... Done

The following NEW packages will be installed:

raspberrypi-kernel-headers

0 upgraded, 1 newly installed, 0 to remove and 1 not upgraded.

Need to get 16.1 MB of archives.

After this operation, 104 MB of additional disk space will be used.

...
/usr/srcの下に次のようにインストールされている。
$ ls -l /usr/src

total 8

drwxr-xr-x 24 root root 4096 4月 17 15:11 linux-headers-4.14.30+

drwxr-xr-x 24 root root 4096 4月 17 15:11 linux-headers-4.14.30-v7+
カーネルモジュールのコンパイルのためにbcをインストールさせておく。コードをダウンロードするのにgitをインストールしておく。
$ sudo apt-get install git bc
WI-U2-433DHPのモジュールを作成する
ここにWI-U2-433DHPのためのモジュールのコードがあった。gitでダウンロードする。
$ git clone https://github.com/abperiasamy/rtl8812AU_8821AU_linux.git
Makefileを以下のように修正する。WI-U2-433DHPはRTL8821Aを使っているので、これだけyにする必要があった。RTL8812Aもyにしていたら8812が優先されてRTL8821Aが入らなかった(なぜ?)。
Makefileを以下のように修正した。
$ diff -p Makefile Makefile.orig

*** Makefile 2018-04-17 15:21:52.412079860 +0900

--- Makefile.orig 2018-04-17 15:20:52.953052805 +0900

*************** CONFIG_RTL8192C = n

*** 29,35 ****

CONFIG_RTL8192D = n

CONFIG_RTL8723A = n

CONFIG_RTL8188E = n

! CONFIG_RTL8812A = n

CONFIG_RTL8821A = y

CONFIG_RTL8192E = n

CONFIG_RTL8723B = n

--- 29,35 ----

CONFIG_RTL8192D = n

CONFIG_RTL8723A = n

CONFIG_RTL8188E = n

! CONFIG_RTL8812A = y

CONFIG_RTL8821A = y

CONFIG_RTL8192E = n

CONFIG_RTL8723B = n

*************** CONFIG_AP_WOWLAN = n

*** 72,79 ****

######### Notify SDIO Host Keep Power During Syspend ##########

CONFIG_RTW_SDIO_PM_KEEP_POWER = y

###################### Platform Related #######################

! CONFIG_PLATFORM_I386_PC = n

! CONFIG_PLATFORM_ARM_RPI = y

CONFIG_PLATFORM_ANDROID_X86 = n

CONFIG_PLATFORM_ANDROID_INTEL_X86 = n

CONFIG_PLATFORM_JB_X86 = n

--- 72,79 ----

######### Notify SDIO Host Keep Power During Syspend ##########

CONFIG_RTW_SDIO_PM_KEEP_POWER = y

###################### Platform Related #######################

! CONFIG_PLATFORM_I386_PC = y

! CONFIG_PLATFORM_ARM_RPI = n

CONFIG_PLATFORM_ANDROID_X86 = n

CONFIG_PLATFORM_ANDROID_INTEL_X86 = n

CONFIG_PLATFORM_JB_X86 = n
コンパイル
$ CC=gcc-4.9 make

...

LD [M] /home/hironobu/WI-U2-433DHP/rtl8812AU_8821AU_linux/rtl8821au.o

Building modules, stage 2.

MODPOST 1 modules

CC /home/hironobu/WI-U2-433DHP/rtl8812AU_8821AU_linux/rtl8821au.mod.o

LD [M] /home/hironobu/WI-U2-433DHP/rtl8812AU_8821AU_linux/rtl8821au.ko

make[1]: Leaving directory '/usr/src/linux-headers-4.14.30-v7+'
インストール
$ sudo make install
モジュールをカーネルにロードする
デフォルトのネットワーク状態を確認してみる
$ ip link

1: lo: <LOOPBACK,UP,LOWER_UP> mtu 65536 qdisc noqueue state UNKNOWN mode DEFAULT group default qlen 1000

link/loopback 00:00:00:00:00:00 brd 00:00:00:00:00:00

2: eth0: <BROADCAST,MULTICAST,UP,LOWER_UP> mtu 1500 qdisc pfifo_fast state UP mode DEFAULT group default qlen 1000

link/ether b8:27:eb:da:b3:2b brd ff:ff:ff:ff:ff:ff

3: wlan0: <BROADCAST,MULTICAST,UP,LOWER_UP> mtu 1500 qdisc pfifo_fast state UP mode DORMANT group default qlen 1000

link/ether b8:27:eb:8f:e6:7e brd ff:ff:ff:ff:ff:ff
モジュールをカーネルにロードする。
$ sudo modprobe rtl8821au
ロード後を確認する。
$ ip link

1: lo: <LOOPBACK,UP,LOWER_UP> mtu 65536 qdisc noqueue state UNKNOWN mode DEFAULT group default qlen 1000

link/loopback 00:00:00:00:00:00 brd 00:00:00:00:00:00

2: eth0: <BROADCAST,MULTICAST,UP,LOWER_UP> mtu 1500 qdisc pfifo_fast state UP mode DEFAULT group default qlen 1000

link/ether b8:27:eb:da:b3:2b brd ff:ff:ff:ff:ff:ff

3: wlan0: <BROADCAST,MULTICAST,UP,LOWER_UP> mtu 1500 qdisc pfifo_fast state UP mode DORMANT group default qlen 1000

link/ether b8:27:eb:8f:e6:7e brd ff:ff:ff:ff:ff:ff

4: wlan1: <BROADCAST,MULTICAST,UP,LOWER_UP> mtu 1500 qdisc mq state UP mode DORMANT group default qlen 1000

link/ether 84:af:ec:74:40:33 brd ff:ff:ff:ff:ff:ff
モジュールの登録
リブートしてもロードされるようにしておく。
echo rtl8821au > /etc/modules-load.d/rtl8821au.conf
リブートして先程のようにipコマンドを使ってWiFiが認識されるか確認する。